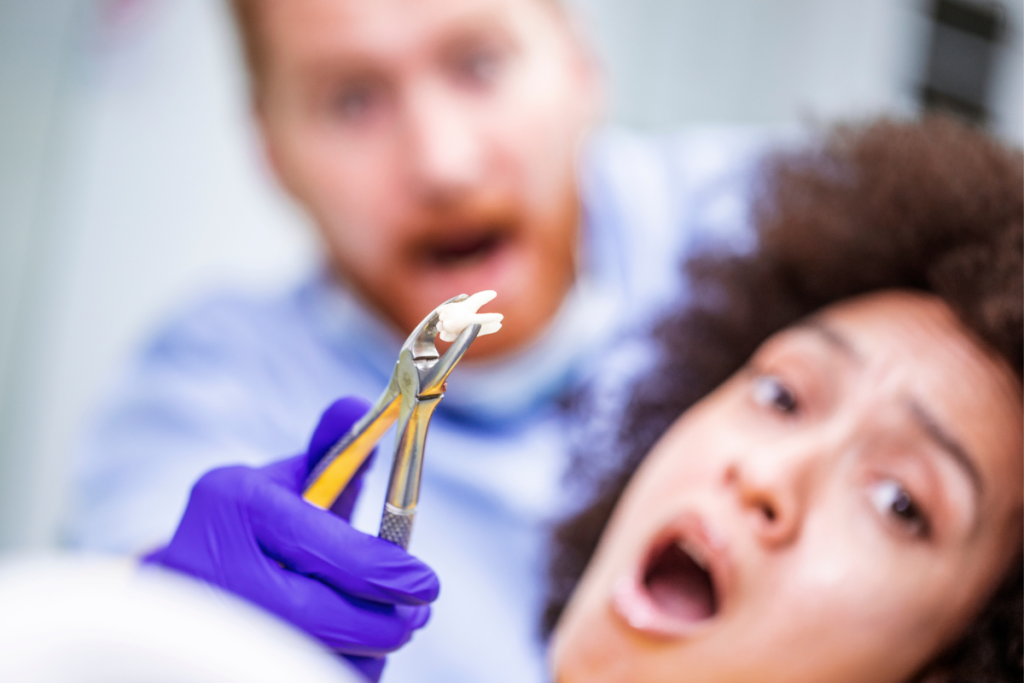
knocked-out tooth can be a traumatic and frightening experience. Dental avulsion, the term for when a tooth is completely dislodged from its socket, is a serious dental emergency. Prompt action and understanding what to expect are crucial for saving the tooth and ensuring a successful recovery. If you’re in the Surrey area, seeking immediate care at a Dental Clinic Surrey can make all the difference. Let’s delve deeper into this topic, what to do, and how to navigate the healing process.
Dental Avulsion: A Dental Emergency
- Tooth knocked out? This is serious!
Causes:
- Sports accidents
- Falls
- Fights
- Biting hard things
What to Do ASAP:
- Find tooth (touch crown only)
- Quick rinse (milk/saline)
- Try to reinsert
- Store in milk/saliva if you can’t reinsert
- See dentist immediately!
Success Depends On:
- How quickly you act
- Proper tooth storage
Prevention:
- Wear mouthguards
- Be careful to avoid falls
- Don’t bite hard objects
Remember: Fast action can save your tooth!
.
What is Dental Avulsion?
Dental avulsion happens when a tooth sustains a significant force, causing it to be completely knocked out of its socket in the jawbone. This can occur due to a variety of accidents, including:
.
- Sports injuries: Collisions, falls, or being hit in the face during sports can result in dental avulsion.
- Falls: Tripping, slipping, or accidental falls, especially in children or the elderly, can lead to a tooth being knocked out.
- Physical Altercations: Fights or assaults can sometimes cause dental avulsion.
- Biting Hard Objects: Biting down on hard candies, ice, or other hard objects can put excessive force on teeth, potentially leading to avulsion.
When a tooth gets avulsed, the delicate tissues, nerves, and blood vessels connecting it to the bone are severed. This essentially cuts off the tooth’s life support system.
Emergency Action After Dental Avulsion
The immediate steps you take after a dental avulsion can significantly impact the success of saving the tooth. Here’s the essential emergency protocol:
1. Find the Tooth:
Act quickly! Carefully locate the tooth and handle it only by the crown (the white, visible part), being sure not to touch the root surface.
2. Rinse Gently (If Dirty):
If the tooth is contaminated, rinse it very briefly under cool running water or milk. You can also use saline solution. Avoid scrubbing, using soap, or letting the tooth dry out.
3. Attempt Reimplantation (If Possible):
The ideal scenario is to gently try to place the tooth back into its empty socket. If this is possible, bite gently on a soft cloth or gauze to help hold it in place.
4. Safe Storage:
If you can’t replace the tooth yourself, the next best thing is to keep it moist. Store the tooth in milk, your own saliva (inside your cheek), or a specialized tooth-saving kit (if available).
5. Seek Immediate Dental Care:
Visit an emergency dentist or emergency room as soon as possible. Time is critical in dental avulsion cases!
Factors Determining the Success of the Treatment
Several factors influence the likelihood of successful reimplantation and long-term tooth survival after dental avulsion:
- Time Elapsed: The faster the tooth is reimplanted or placed in proper storage, the higher its survival chances. Ideally, treatment should occur within 30 minutes to an hour.
- Proper Storage: Milk, saliva, and specialized tooth-saving kits provide a suitable environment to preserve the tooth’s root cells. Avoid storing the tooth in water.
- Handling of the Tooth: Minimize handling the root to protect the delicate cells necessary for healing.
- Overall Health: Underlying medical conditions can sometimes impact healing and recovery.
The Dental Avulsion Treatment Procedure
A dentist or qualified healthcare professional will conduct a thorough assessment after a dental avulsion. Here’s what you can expect:
-
Evaluation: They’ll examine the tooth, the socket, and your mouth, often using X-rays.
-
Cleaning and Reimplantation: The dentist will carefully clean the socket and the tooth before gently repositioning the tooth back in place.
-
Splinting: A flexible splint is attached to the neighboring teeth to stabilize the reimplanted tooth, helping it heal in the correct position.
-
Root Canal Treatment: It’s likely you’ll need root canal therapy in the weeks following dental avulsion. The nerve tissue inside the tooth is usually damaged and needs to be removed.
Recovery and Healing
Recovering from dental avulsion takes time and care. Here’s what to expect:
- Pain Management: Over-the-counter pain relievers can address initial discomfort. Your dentist might prescribe stronger medication if needed.
- Dietary Changes: Stick to a soft diet for the first few days to protect the healing tooth. This includes mashed potatoes, smoothies, yogurt, etc.
- Oral Hygiene: Maintain good brushing and flossing habits, but be extra gentle around the affected area.
- Follow-up Appointments: It’s vital to see your dentist in this process.
Potential Complications After Dental Avulsion
While many teeth successfully heal after dental avulsion, some complications can occur. Being aware of these possibilities helps you and your dentist monitor for any issues:
- Root Resorption: Over time, the root of the reimplanted tooth may begin to dissolve. This can require further procedures, such as additional root canal treatment or even tooth extraction.
- Tooth Discoloration: An avulsed tooth might become darker than surrounding teeth due to changes in its internal structure. Cosmetic solutions like whitening or veneers might be an option later.
- Ankylosis: In this situation, the tooth root fuses directly to the jawbone. This can make the tooth more susceptible to fractures or may necessitate its removal in the future.
- Infection: If bacteria become trapped within the socket, an infection can develop, potentially requiring additional treatment.
Preventing Dental Avulsion
Although accidents and injuries can’t always be avoided, you can take steps to minimize the risk of dental avulsion:
- Mouthguards: Always wear a properly fitted mouthguard when engaging in contact sports or activities with a risk of falls or facial impacts.
- Fall Prevention: This is especially important for young children and older adults. Make your home environment safer by reducing tripping hazards and promoting good balance.
- Safe Habits: Discourage biting or chewing on hard objects like ice, pens, or fingernails.
- Address Teeth Grinding: If you grind or clench your teeth, especially at night, ask your dentist about solutions like a nightguard. This protects against excessive forces on your teeth
Additional Tips for Handling Dental Avulsion
- Stay Calm: Dental avulsions are understandably stressful. Take a few deep breaths and focus on finding the tooth and seeking help quickly.
- Don’t Touch the Root: Avoid scrubbing or trying to remove any tissue from the tooth’s root surface. These cells are crucial for healing.
- Avoid Unproven Storage Methods: Stick to recommended storage options like milk, saliva, or specialized kits. Tap water or wrapping the tooth in dry cloth is less likely to preserve the tooth’s viability.
- Contact your Dentist First: While time is important in an avulsion emergency, call your dentist’s office as you head to their location or seek emergency care. They might offer additional instructions.
Conclusion
![]() While dental avulsion is a serious dental emergency, prompt action, proper care, and working closely with your dentist significantly improve the chances of saving your natural tooth. Understanding the process, how to prepare, and the importance of quick action empowers and gives you a better chance of overcoming this dental challenge. For immediate care, contact a City Dental Clinic Surrey.
While dental avulsion is a serious dental emergency, prompt action, proper care, and working closely with your dentist significantly improve the chances of saving your natural tooth. Understanding the process, how to prepare, and the importance of quick action empowers and gives you a better chance of overcoming this dental challenge. For immediate care, contact a City Dental Clinic Surrey.